Shipping Rates
In this guide, we’ll set up a basic shipping configuration with two types of products: regular and bulky.1
Open ShipMagic
Install and open ShipMagic in your Shopify admin.
2
Go to Shipping Rates
From the left navigation panel, open the Shipping Rates page.
We’ll create two rules here:
We’ll create two rules here:
- One for bulky products
- One for regular products
3
Create rule for bulky products
Click on “Add Rule” and create a rule with following condition:
4
Add shipping rate to the bulky rule.
In your desired shipping zone, click on “Add rate” and add a rate with following details:Click “Done” and then “Save” the rule.
5
Now, let's create a rule for regular products
Click on “Add Rule” to create another. Add following condition:
6
Add shipping rate to the regular rule.
In your desired shipping zone, click on “Add rate” and add the first rate below $100:Click on “Add Rate” again to add the second rate above $100.Click “Done” and then “Save” the rule.
7
Sync products with the app
Some product data isn’t available at checkout during runtime, so syncing product data during rule set up is required. Product tag is one such parameter.
- Go to Settings page in the app
- Click “Sync Now” under Products
8
Test your set up
- Go to your Shopify storefront
- Add a product tagged “bulky” to the cart
- Proceed to checkout
- Enter the complete address. First name should be “shipmagic” if app is in test mode.
Shipping Customizations
In this guide, we’ll set up a basic shipping customization to show free shipping to customers who have a tag “prime” and paid shipping options to others.1
Open ShipMagic
Install and open ShipMagic in your Shopify admin.
2
Create shipping rates in Shopify settings
Navigate to Store settings → Shipping and Delivery → General. Add the following rates in the desired shipping zone.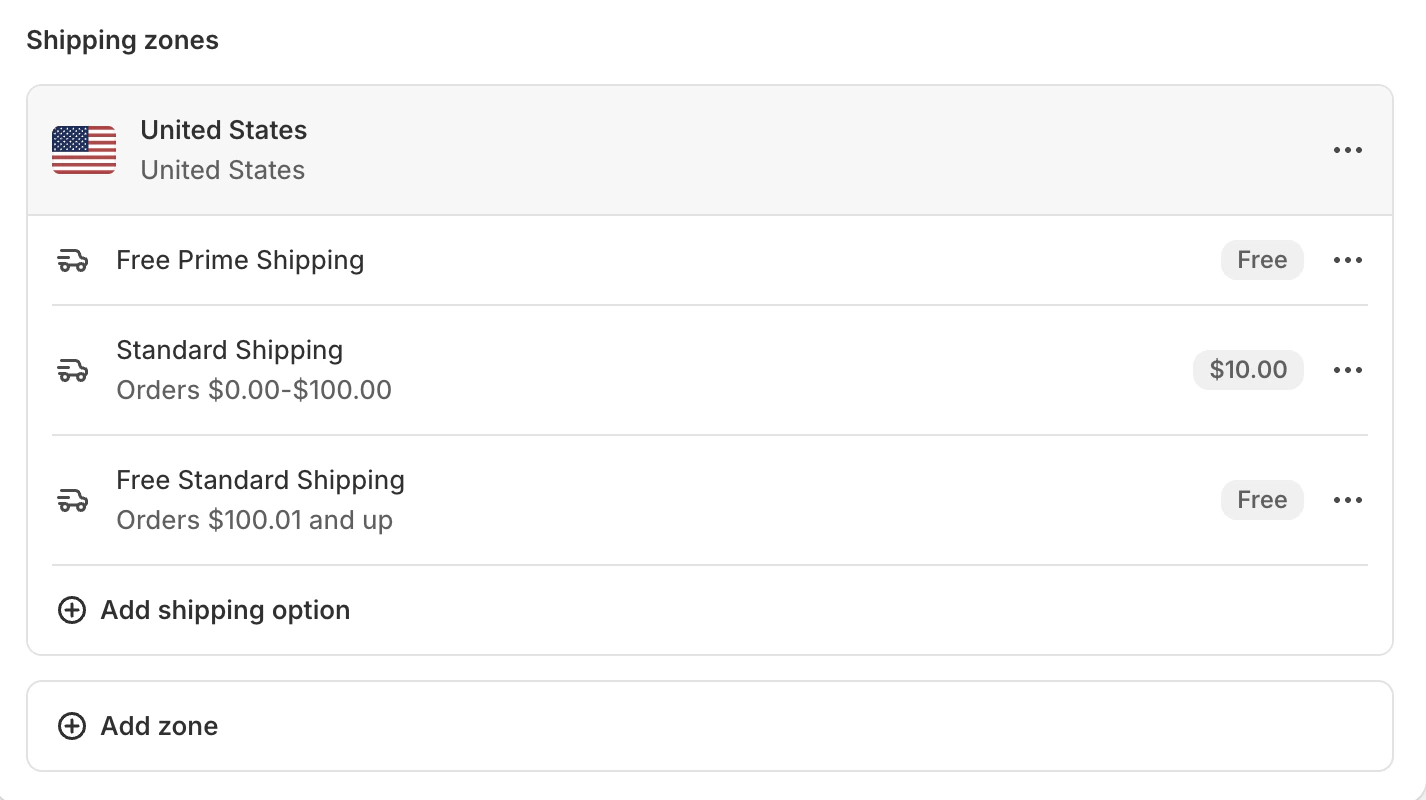
3
Go to Shipping Customizations
From the left navigation panel, open the Shipping Customizations page.
We’ll create two customizations here:
We’ll create two customizations here:
- One for “prime” customers
- One for regular customers
4
Create customization for prime customers
Click on “Create Customization” and add rule with following details:Click “Done” and then “Save” the rule.
5
Now, let's create another customization for regular customers
Click on “Create Customization” and add another rule with following details:
6
Test your set up
- Go to your Shopify storefront
- Login using a customer with tag “prime”
- Add products to cart and proceed to checkout
- Enter the complete address. First name should be “shipmagic” if app is in test mode.
Need help?Our founders will personally help with the optimal setup for your brand. Book a free onboarding call**** if you’d like us to help.