Steps to Go Live
1. Subscribe to a Paid Plan
To activate ShipMagic for live customers, you need to subscribe to one of the available plans. Choose a plan based on your usage:- Starter Plan → For Shipping Customizations only
- Pro Plan → For Shipping Rates (includes customizations)
- Pro+ Plan → For advanced or custom-coded logic
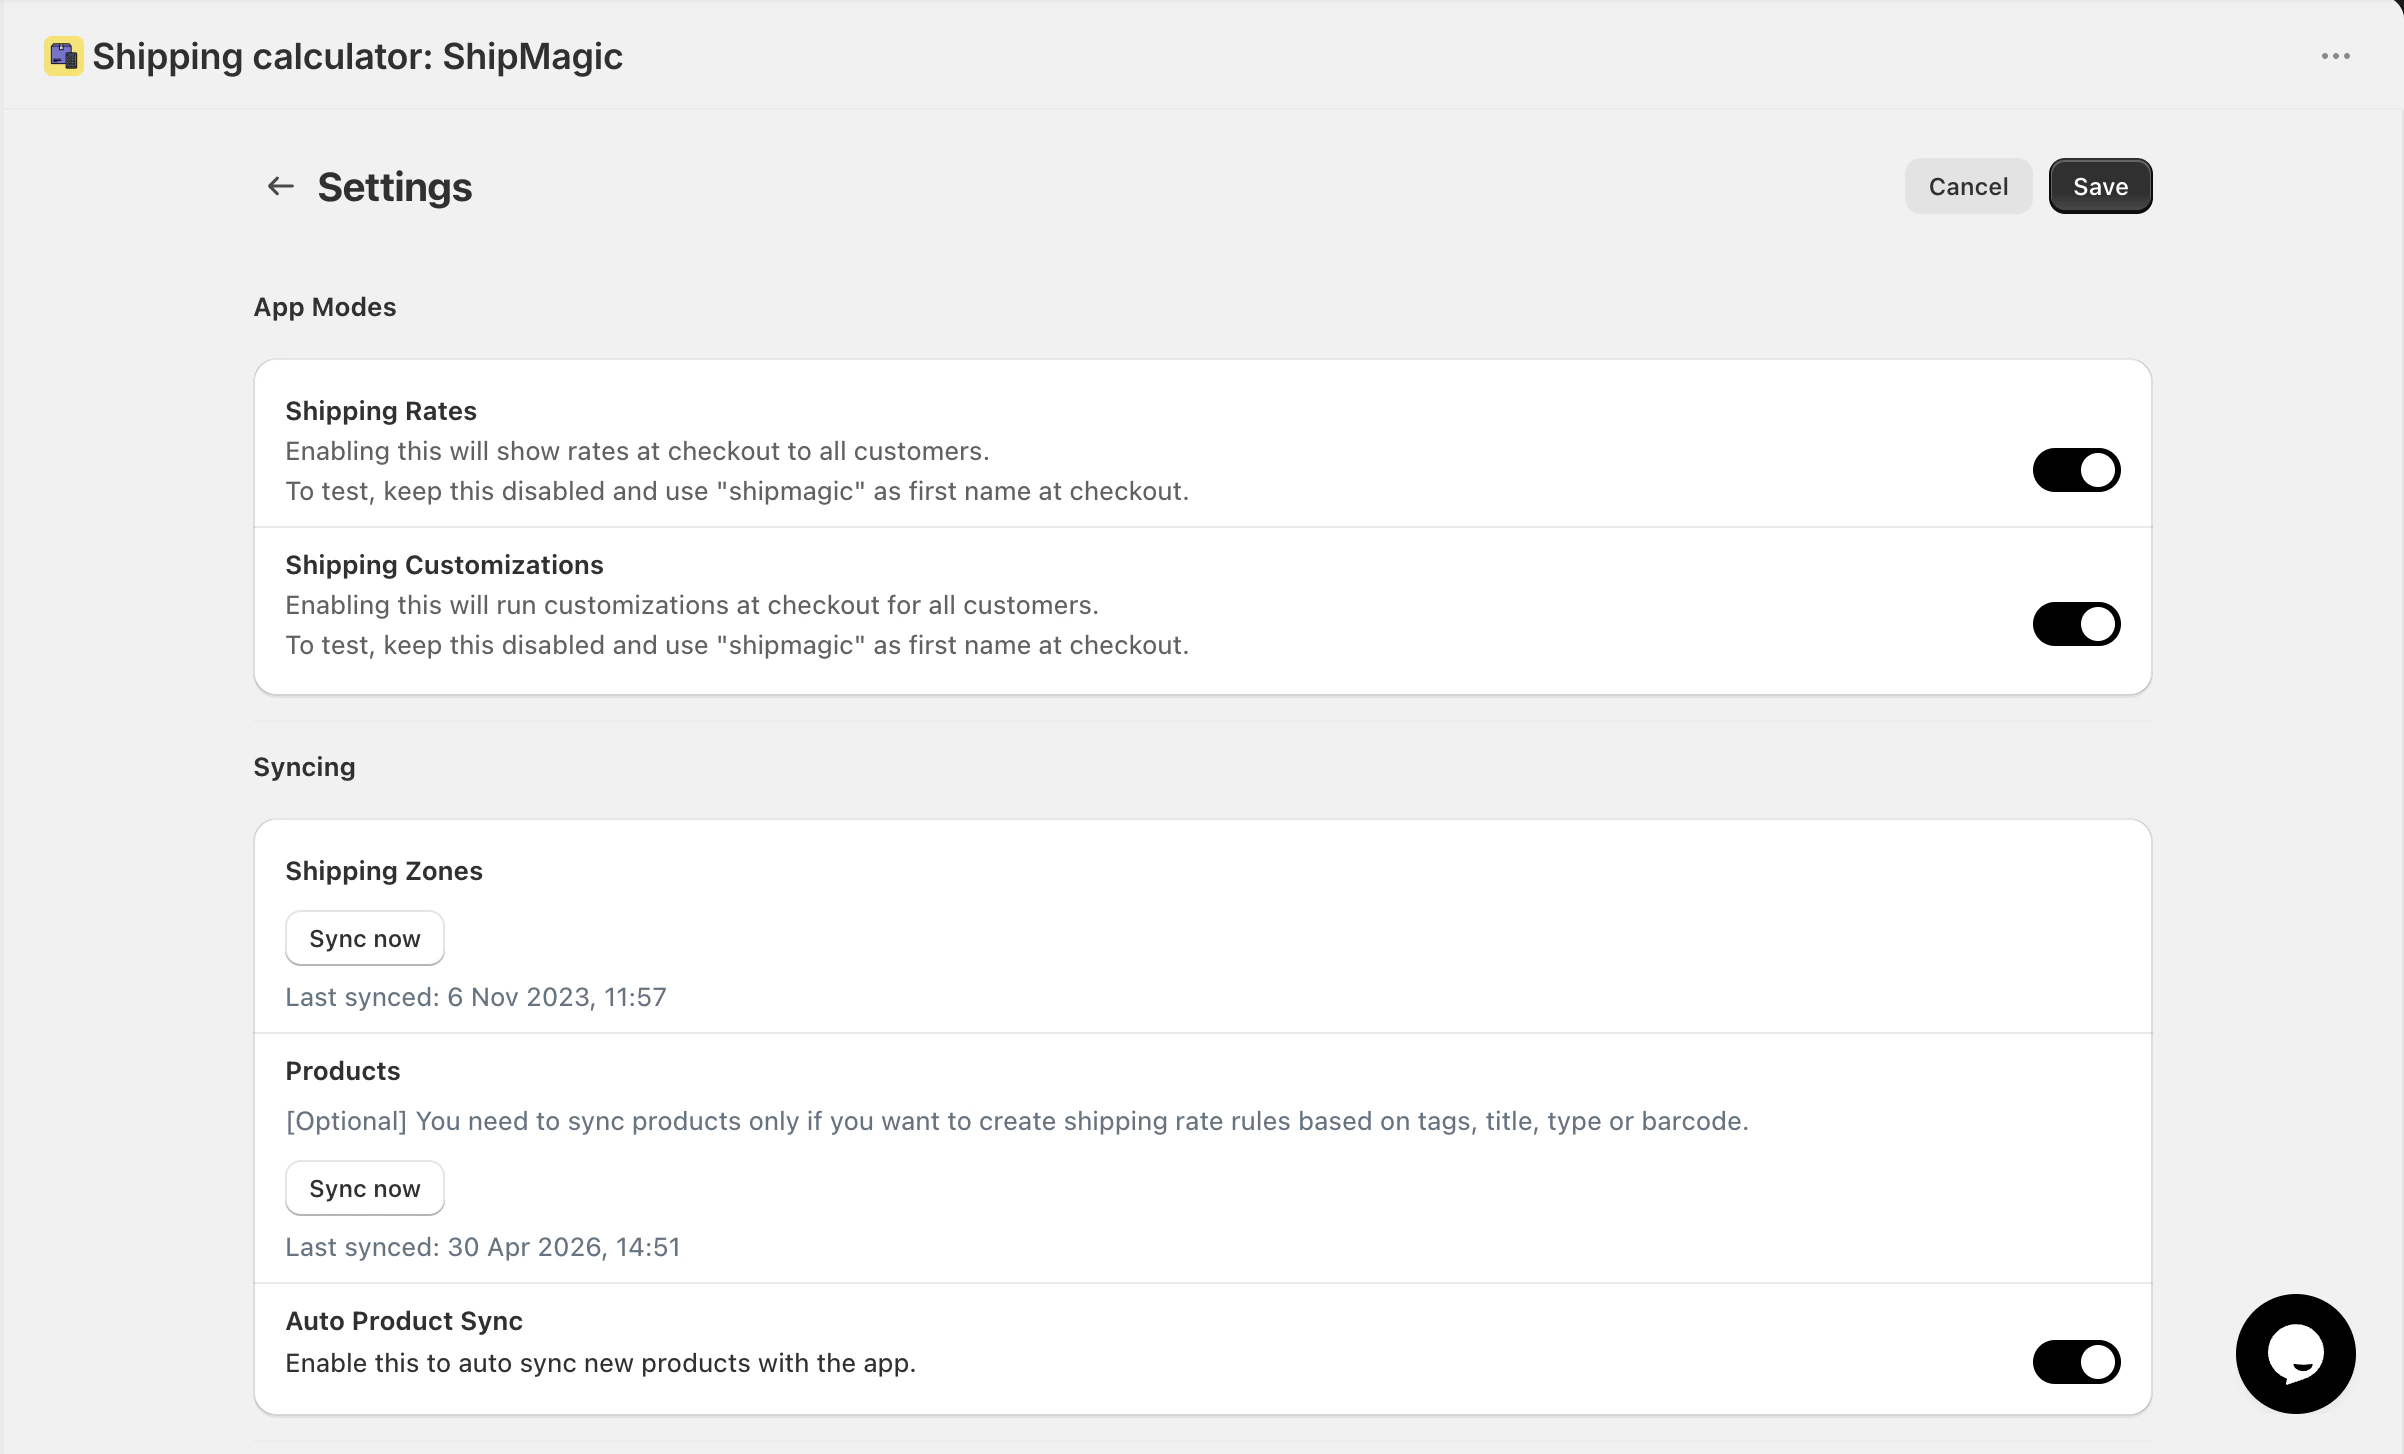
2. Enable ShipMagic
- Go to the Settings page in the app
- Turn on the toggles for shipping rates / shipping customizations
Before You Go Live (Checklist)
Make sure you’ve completed the following:- ✅ Tested all key scenarios (products, cart values, locations)
- ✅ Synced product data (if required)
- ✅ Confirmed correct rates are showing in test mode
What Happens After Going Live?
- Customers will see ShipMagic-powered rates at checkout
- Your configured rules will run in real time
- Test mode restrictions (like using “shipmagic” as first name) will no longer apply
Removing Old Shopify Rates
If your existing Shopify shipping rates are showing alongside ShipMagic rates, you may want to remove them to avoid confusion at checkout.How to fix this
- Go to Shopify Admin → Settings → Shipping and Delivery
- Open your shipping profile
- Locate the existing (manual) shipping rates
- Delete the old rates